Raspberry Pi + Atari 2600 Case
Tuesday, March 7, 2017, 16:49
Posted by Administrator
I've recently finished putting together a custom Raspberry Pi case using the shell of an old Atari 2600. This isn't so much a how-to but more of a general overview of what was involved. It is all a lot simpler to accomplish than one might imagine.
What gave me the idea for this project was that I had an old Vader style Atari 2600 with a number of hardware issues rendering it unusable. I've also been emulating thousands of old games on a Raspberry Pi 3 with
Retropie lately but had never had a case for the Pi that was much to look at. I had been considering buying one of those little 3d printed cases which look like an original Nintendo Entertainment System which are aesthetically impressive but the price point always seemed a little silly considering the Pi itself is so inexpensive.
The first step for this project was to completely remove all the innards from the old Atari. There was a lot more space in here than I expected so I knew straight off it wouldn't be a challenge at all to fit everything needed inside of the case.
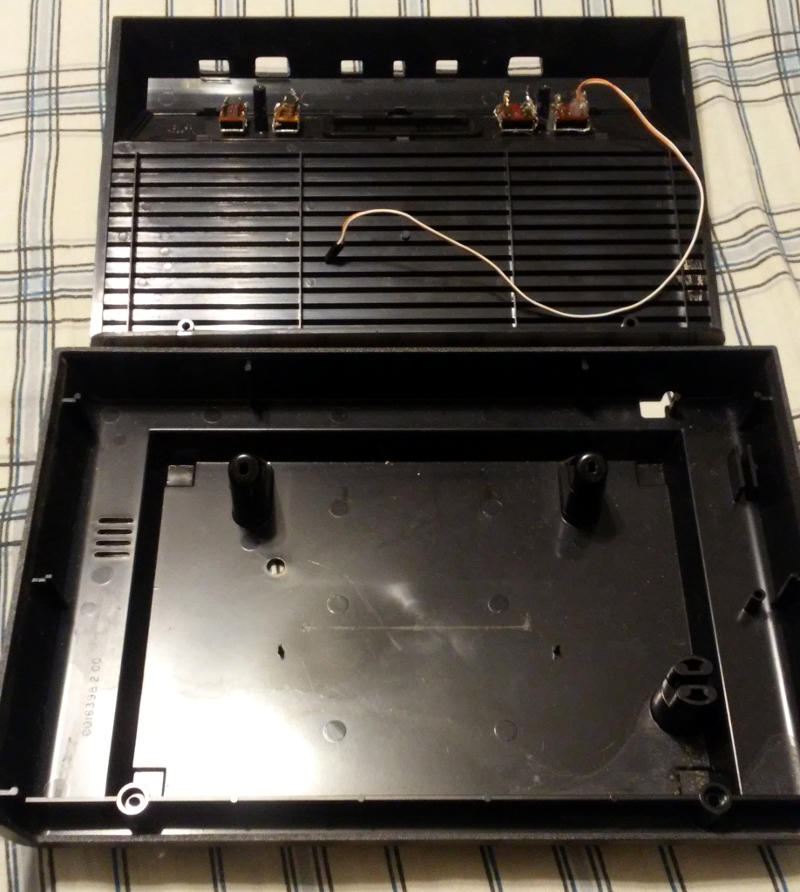
The second step was to rip off all of the old switches and glue them down to the case plastic itself. I swapped the power switch out for the reset switch so that I could wire it up to the Pi later and use it to turn the system on and off. Below is a closeup of where I soldered wires on to the switch and then covered whole are with hot glue ( being careful not to effect the mechanism itself ):
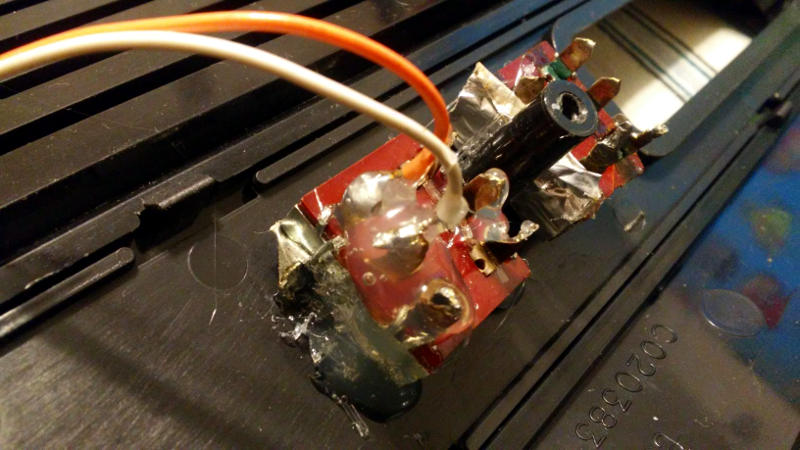
The other end of this switch is connected to pins 5 and 6 of the pi's GPIO. These trigger the Pi to turn on if it has power but has been shutdown, they also double as an input which can trigger a safe shutdown of the system. I first saw how straightforward this was to set up on
this video by ETA PRIME. He details how to set this all up and includes all the steps needed in a text file. Basically it involves making sure that you have python on the system and a library allowing you easy access to the GPIO pins. A script is then initiated whenever the system starts up which constantly watches for pins 5 and 6 being momentarily connected which then sets off a
shutdown -h command when that occurs. Shutting the pi down in this way is much preferable to pulling the power to it since powering off suddenly at just the wrong moment can often lead to corruption of the sd card which the Pi runs itself off of.
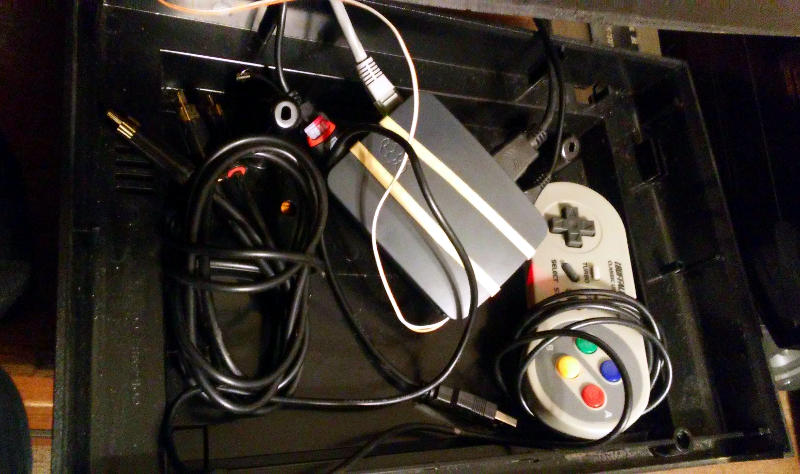
Next up I piled everything into the belly of the large Atari case. I was able to add in an extra controller, spare A/V cable, and the Pi itself. Luckily all of the desired cords were able to be fed in through the controller port holes left in the back of the case. The HDMI head was a bit of a tight fit but I managed to get it through without any modification:
One of the final touches was to do a little modification of the logo on the front of the Atari after I realized that I could turn the capital R at the end of Atari into a fair approximation of the letter P:

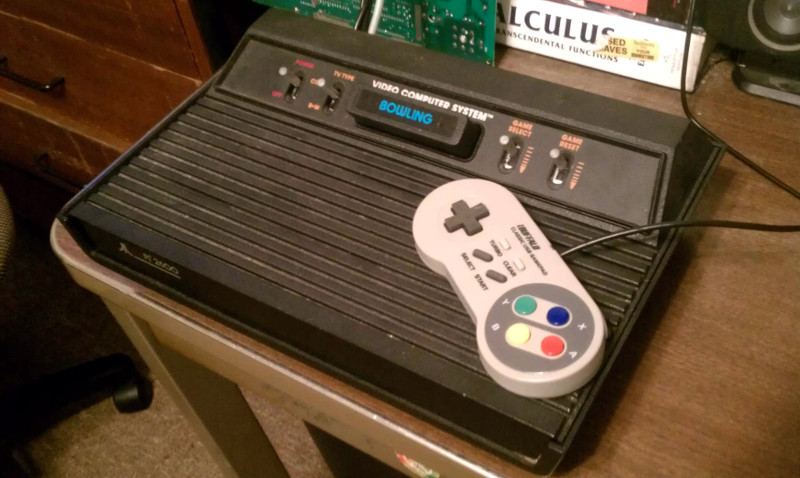
I decided to not screw everything back together because the top shell fits on very snugly and sits firmly in place. I also like being able to open the case up easily so that I can get to the spare controller that I've stored inside. Things were looking a bit odd when I had a hole open where the games used to fit in the system. I decided to put a Bowling cartridge in the empty space which is not ideal for ventilation considerations but hasn't caused any problems so far.
Finally a shot of the entire case with my favorite controller on top (
Buffalo SNES ) :
It certainly isn't the most complex build out there but I am very pleased with it. It has been a lot more satisfying to have this classic Atari design beside the TV while I play old retro games compared to just hiding the Pi out of sight like I used to.
It would be a shame to dismantle a working Atari for this purpose but if you have a broken one, or can find one being sold which needs more repair than it is worth, I'd highly recommend re-purposing it in this way.
.jpg)
;)
;)
;)
;)
;)